If you’re into tactical gear, outdoor equipment, or 3D printing your own gear, you already know that MakerWorld is an absolute goldmine, if you have the patience to dig through it. Over the last few months, I’ve been doing the heavy lifting for you. I’ve put together a comprehensive MakerWorld collection packed with the best PYOG 3D Print tactical gear, outdoor utilities, and gun accessories I could find.
To be completely transparent: none of these designs are mine. I didn’t model them, and I’m not taking credit for the incredible engineering here. I’m just someone who loves great gear, appreciates brilliant designers, and wanted a single, organized place to find the good stuff. I do want to get to the point where I can design and put out files to the community but until then, I’ll be keeping this collection updated. Check out the full collection below and start your own PYOG 3D Print today.
https://makerworld.com/en/collections/27974046-pyog-print-your-own-gear

This blog may earn a small commission from purchases made through links on this page, at no additional cost to you. These affiliate links help support the blog’s upkeep and allow us to continue creating valuable content for our readers. Thank you for your support!
Backstory
3D printing has always been in the back of my mind. Over eleven years ago, I actually owned an Up! Mini that I messed around with for about six months. Looking back, it was a pretty terrible machine. I could never get the bed level, prints constantly failed, dimensions were always off, and supports or brims were a total nightmare. After less than a year of fighting with it to print a few gimmicky toys, I gave up and sold it.

For the next decade, I always thought about getting back into the hobby but never pulled the trigger. That changed about five months ago. A buddy of mine got a modern printer and started showing off these incredibly clean, genuinely useful prints. Seeing how far the technology had come blew me away. My immediate thought? I need to get one of these so I can start Printing My/Your Own Gear (PYOG).
Getting back into it
I ended up buying the exact same machine my friend had, the Elegoo Centauri Carbon. There’s actually a newer model out now, but I stuck with the original because it was marked down to a deep discount, $289 down from the usual $420. (I just checked an they are $323 on Amazon) I’m pretty sure they’re just trying to clear out old stock while pushing the new version, but hey, I wasn’t going to argue with that price. Right out of the box, I was absolutely blown away by how easy it was to use and how incredible the results were.

Learning Curve of PYOG
Coming from a machine where everything failed, the learning curve on this thing felt like cheating. The printer pretty much handles itself. In just five short months, I’ve gone from knowing basically nothing about modern printing to running a near-constant stream of functional gear off the build plate. I’m not going to lie, my first print was a mess of spaghetti. That’s just part of the process, and honestly it was a “Benchy” so it’s almost a right of passage to make it into spaghetti. I immediately realized it was because I used the file saved locally on the printer which didn’t know what filament I was actually trying to print with, so it wasn’t set up for that type of material. This is the one and only time I’ve made 3D Spaghetti.

A huge part of that is OrcaSlicer combined with MakerWorld. I don’t have to overthink it, I just grab a design, follow the creator’s or commentors recommended settings on the page, and send it to the printer. Because the community does such a great job optimizing their files, I’ve been able to tackle fairly complex tactical and outdoor prints right away without having to spend weeks troubleshooting slicer settings. There is plenty I could be optimizing and tweaking if the design needs it. Sometimes I’ll run a test print first and make adjustments but for most part things just end up working as they should. A goal of this blog post is to become a knowledge hub for print settings for certain pieces of gear and a place for me to share what I’ve learned about 3D printing gear.
3D Printer Features
The Centauri Carbon even has a built in camera that lets you keep eyes on a print while you are at home on the same network as it. You can set it up to do a timelapse of your print as well. Here is a timelapse of the MLOK Handstop that I recently printed. Operating it feels very futuristic, it has a small touch screen that allows you to perform a lot of the operations while you aren’t in your slicer. Loading and Unloading the filament is a breeze, you push a few buttons and the machine either releases the filament or gets it ready to load in the new batch.
Testing PYOG 3D Print Gear
The second goal of this post is to post feedback and test results for these prints. I’m very curious about the long term durability and tactical feasibility of these parts. This is going to be an onging post about print result. This will eventually lead to me designing my own 3D printable files. So stay tuned for more PYOG 3D Print based gear files.
Some current tests planned – Running over the MLOK hand stop to see how durable it is. Using the MLOK Rail covers and seeing if they hold up to the heat of consistent round counts. Using the EOTech Killflash to see if it does reduce any sort of reflection off glass. Testing the durability of the heavy duty gear hanger.

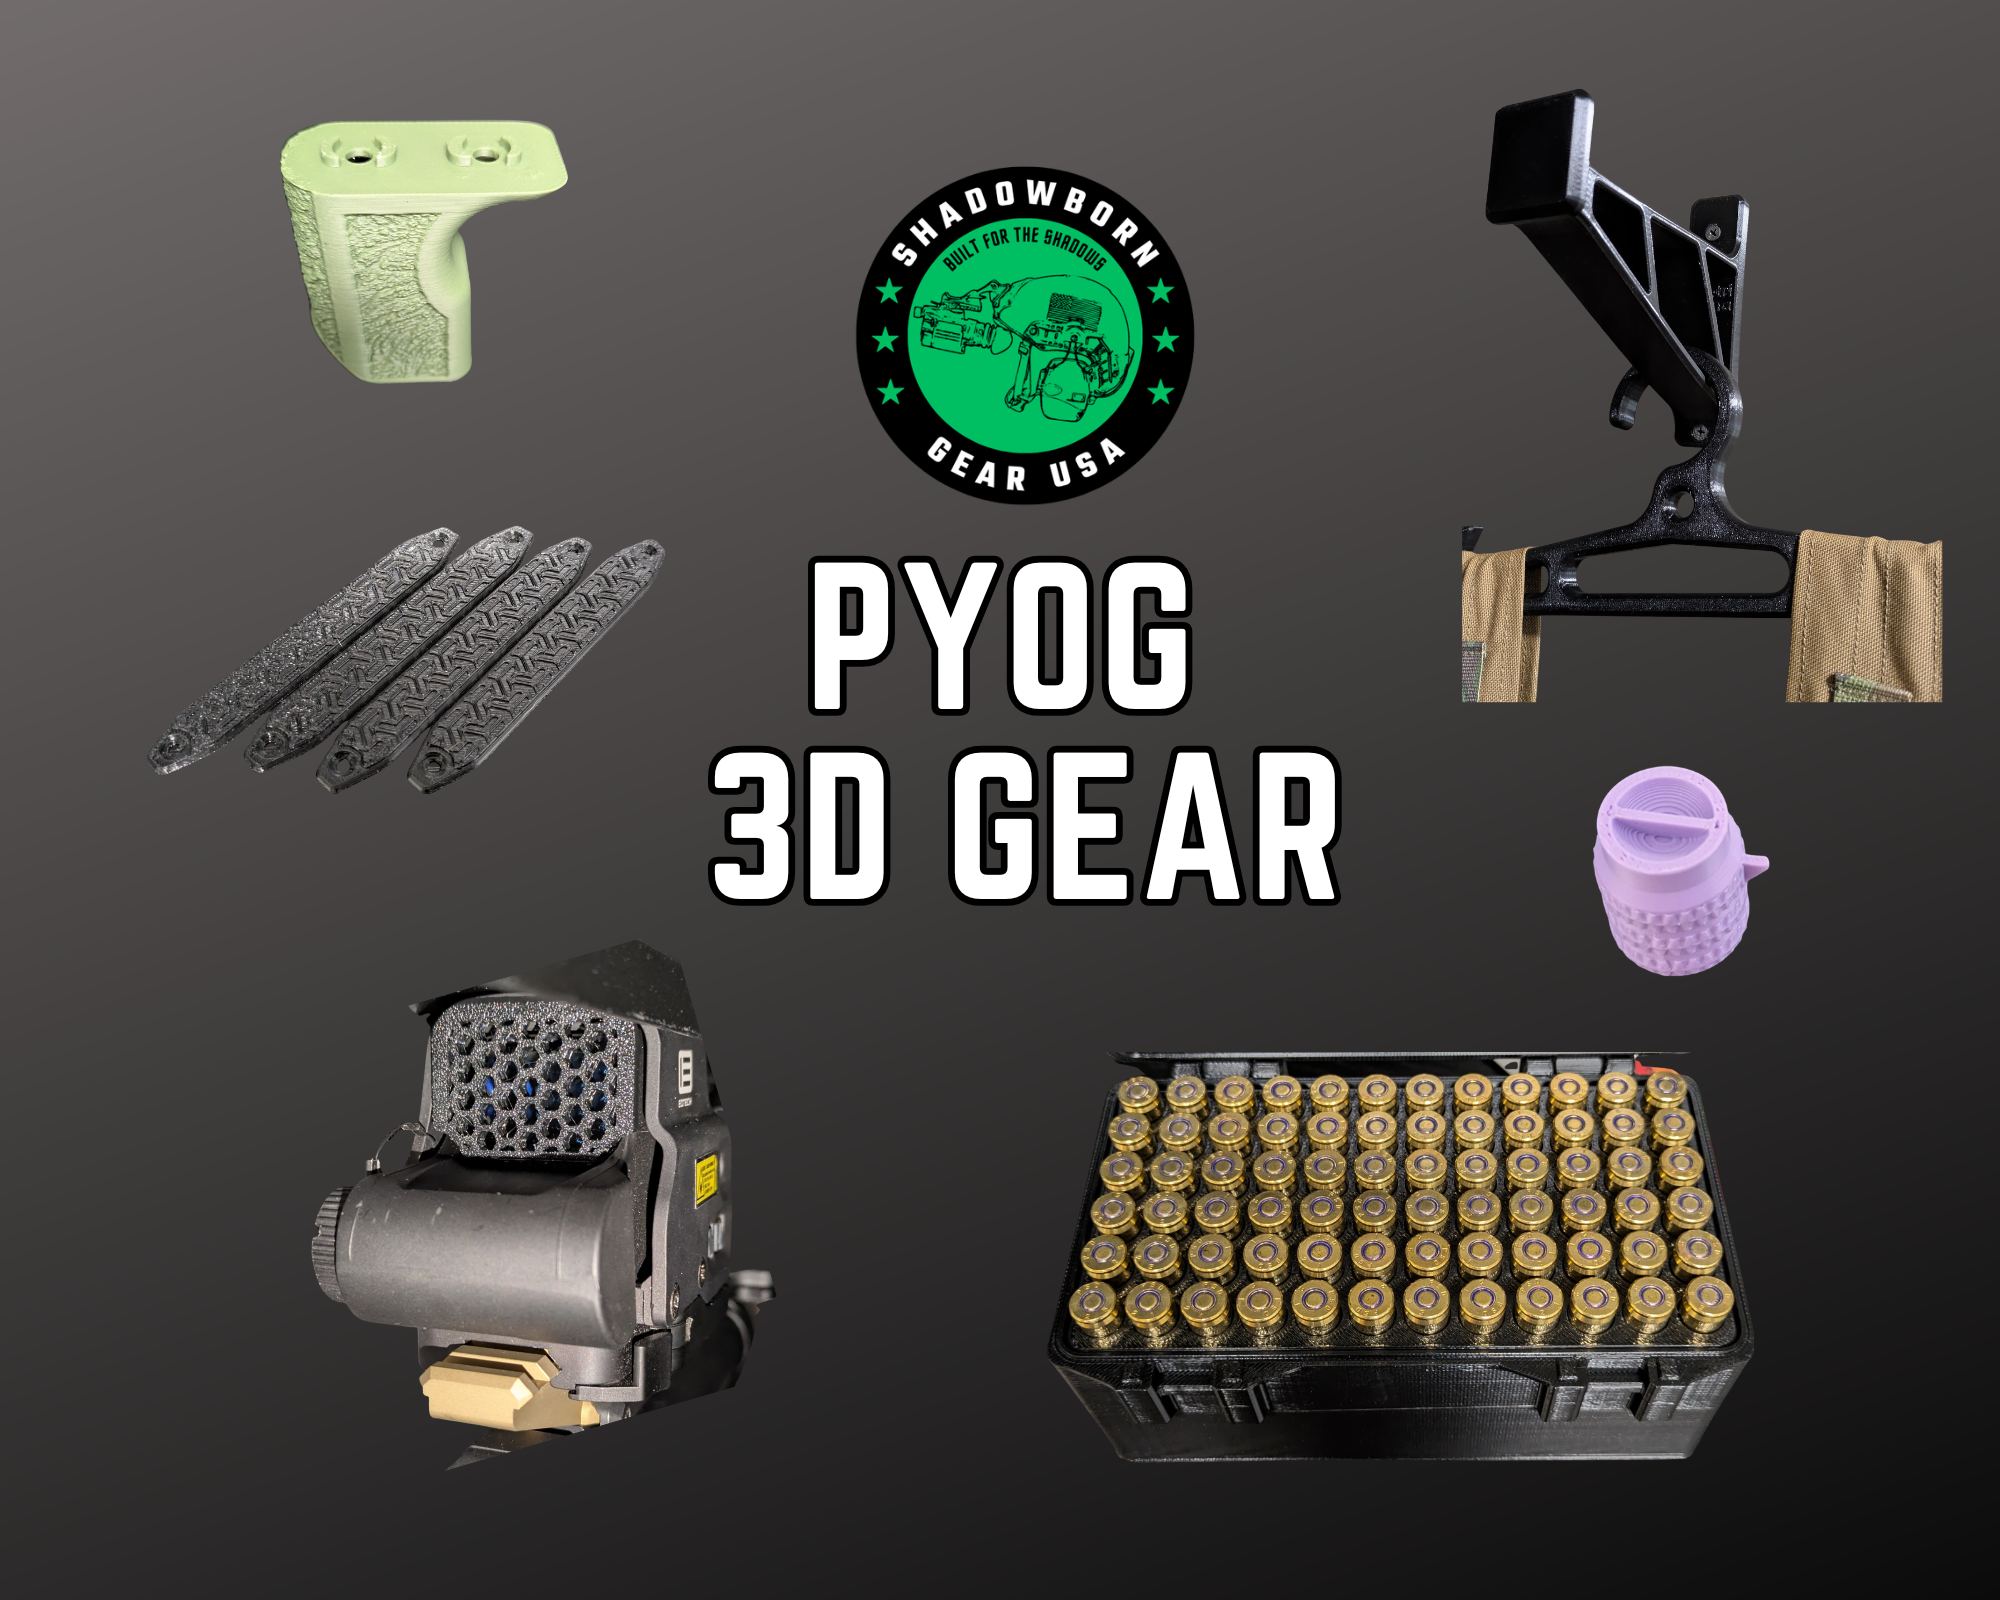
Here’s a list of some of the gear I’ve printed so far. You can find these items on the Makerworld Collection.
- EOTech adjustment windage tool
- EOTech Killflash
- Helmet Battery holder
- Customizable Ammo Box
- Heavy duty gear hangers
- Helmet Hook
- MLOK Rail Covers
- MLOK Handstop
- Meshtastic Cases
- DJI Drone Sunshade
- AR Flared Magwell
- M4 Pouch Mag Insert

Cost of PYOG 3D Printed Gear
The final goal of this post is to help determine if this is a cheaper way to acquire gear. After the initial upfront investment and buying of filament, is PYOG cheaper than buying some gear? Orca slicer can display the cost of the print if you input the price of the spool. When you slice an object it will give you an actual breakdown of the cost for that item. Some prints costing as little as .30 cents to a few dollars. However you do have to factor in time and the overall purchase of the printer. I plan to track the cost of prints, compare them to retail prices, and determine if it’s worth it.
Flared Magwell 3D Print
This AR Flared Magwell cost .71 cents and took just 1 hour 11 minutes to print. Looking at Primary Arms for AR Magwells, there are no options below $39 right now. For the price of just a single $39 dollar Magwell you could 3D print 54 flared Magwells. Even if you factor in the cost of electricity, the savings are just mind boggling. This is the perfect example of why the “Print Your Own Gear” concept makes so much sense. You’re getting a fully functional part, accessory or upgrade in a little over an hour for pocket change.

https://makerworld.com/en/collections/27974046-pyog-print-your-own-gear
MLOK Hand Stop 3D Print
3D Printed MLOK Heel Hook Handstop – I’m currently doing testing with this and making it as solid as possible. It’s been able to withstand being run over by a light SUV (1000 LBS per tire). This version is printed at a 45 degree angle to assist with strength. It has 10 walls and 70% infill with PLA+. Here is a slicer view showing that this model will cost .60 cents to print. Retail price on a similar sized Polymer hand stop is $15-$30. You could print 40 of these for the price of 1 purchased hand stop.